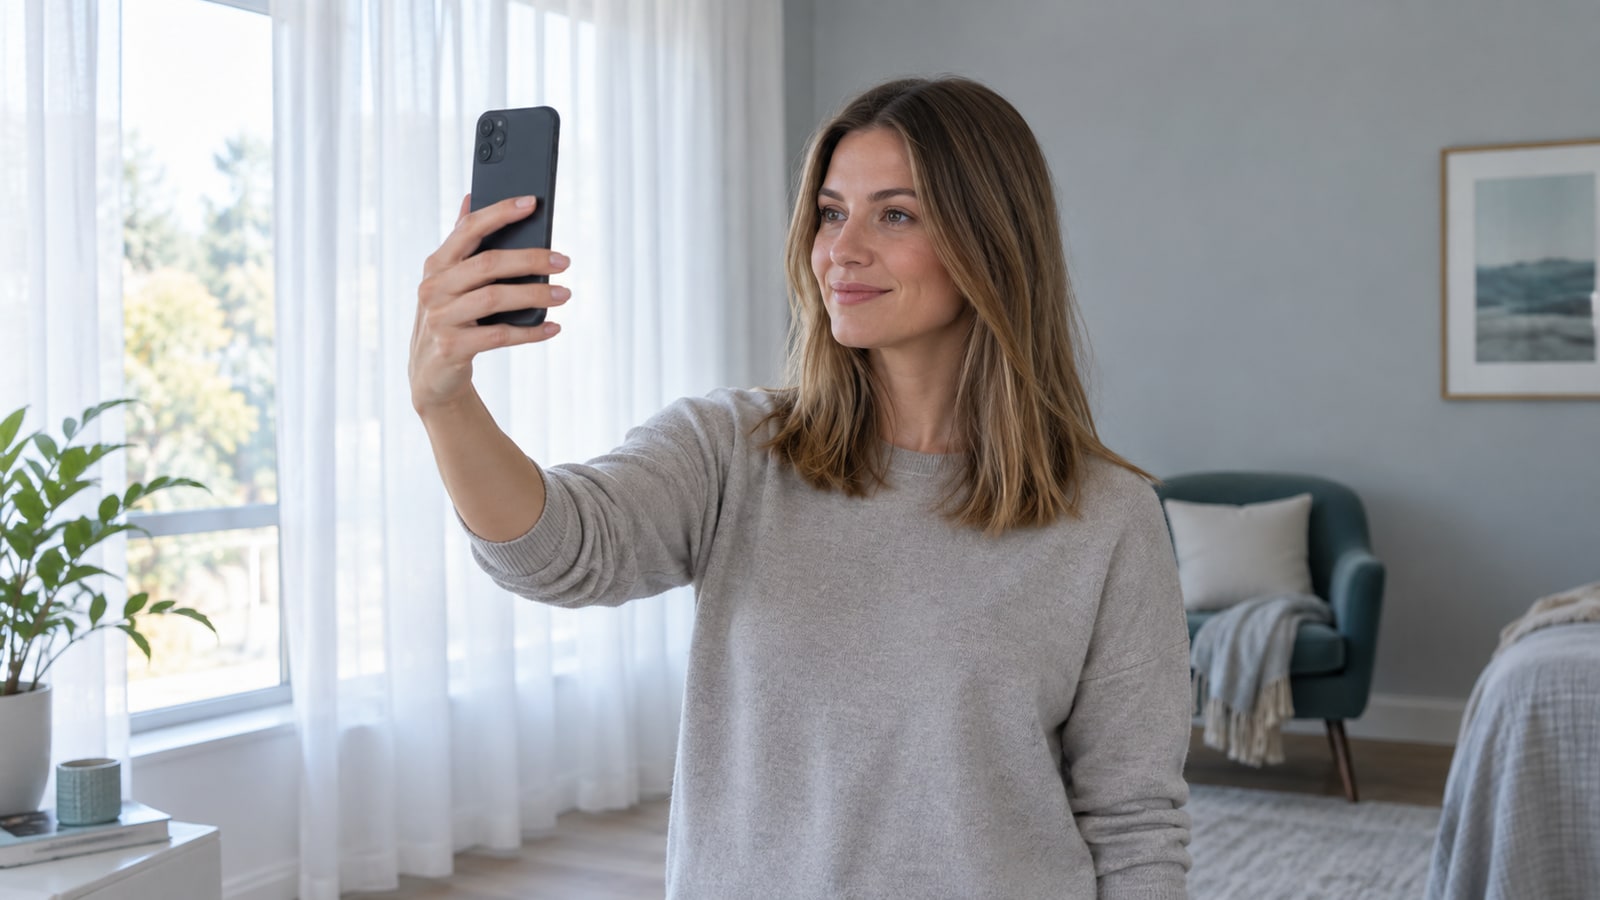
Use even window light without a strong color cast
The input sets the limits of the output. A warm lamp can add yellow to skin and hair, while a cool bulb can suppress gold and copper. For the best lighting for a hair color try-on photo, stand a few feet inside a bright window and face the light. Sheer curtains can soften direct sun and reduce hard highlights.
You do not need a color meter or an exact north-facing window. The practical target is even, uncolored light: no yellow lamp, no overhead hotspot, no bright sun stripe, and no strong shadow across one side of the hair. Turn off nearby bulbs so two different light colors do not mix.
Look at a white or light-gray object in the frame. If it appears strongly yellow, blue, pink, or green, move to another spot or time of day. This check improves consistency; it does not turn a phone into a calibrated camera or prove your skin undertone.
Camera and screen settings to adjust
- Turn off beauty filters and retouching. Skin smoothing and automatic makeup can change the relationship among skin, brows, eyes, and hair.
- Use the standard camera mode. Portrait blur may erase curls, flyaways, or the outer hair edge that the simulator needs to mask.
- Clean the lens and avoid digital zoom. Step closer or farther away while keeping the head and all visible hair inside the frame.
- Keep exposure natural. Tap near the face or hair if needed, but do not brighten the image until dark roots or light strands lose detail.
- Disable warm display shifts while judging results. Apple explains that True Tone adapts display color to the environment and Night Shift warms the display. Other devices may use different names for similar settings.
Turning off a display adjustment changes how you view the preview; it does not change a photo already captured. Keep one device and brightness level for the full comparison, then check your two finalists on another screen if the difference is subtle.
Hair staging: parting, lighting, and background contrast
Wear your hair down in the shape you usually evaluate. Use your normal part, keep the roots visible, and place long lengths in front of the shoulders if they otherwise disappear behind you. Do not tuck every edge away: the simulator needs a readable outline around the temples, ears, shoulders, curls, and ends.
Choose a plain background that differs from your hair depth. Dark brown or black hair separates more clearly from a light gray or cream wall; very light blonde or gray hair benefits from a medium neutral background. Avoid a wall that closely matches the hair, patterned curtains, backlighting, and a bright window directly behind your head.
Wear a simple neutral top and remove strongly colored scarves or large reflective accessories near the face. Hold the phone at eye level, keep your head upright, and leave space around the full hair silhouette. Take two or three frames without changing position, then choose the sharpest one rather than editing the color afterward.
Quick photo check: both eyes and the hairline are sharp; roots and ends retain detail; no filter or portrait blur is active; the background separates from the hair; and the light is even from root to perimeter.
Frequently asked questions
Should I wear makeup when taking a try-on photo?
You can wear your usual makeup if you want the comparison to represent that routine. Avoid a new foundation tone, strong color filter, or heavily reflective product introduced only for the photo. If you are deciding between close hair-color temperatures, compare a second makeup-free image under the same light instead of treating either photo as proof of undertone.
Can I use a photo taken with flash?
Flash can be useful when no other light is available, but it often creates a bright central highlight, darker background, red-eye, and flatter hair color. Diffused window light usually gives a more even reference. If you must use flash, treat the result as a rough outline check and do not make a fine warm-versus-cool decision from that photo alone.