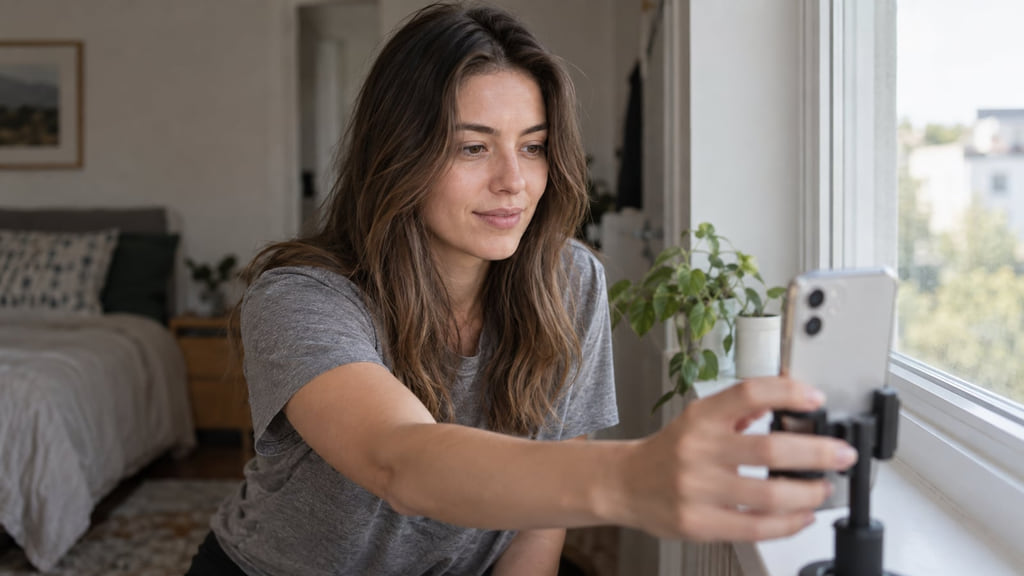
Choose one consistent light source
Light changes how a hair shade appears in a photograph. A warm lamp beside a cool window can give one side of your hair a golden cast and the other a cooler cast. Camera white balance adjusts how the camera renders the scene's light and color; it does not turn every phone photo into a precise color record. Start with one reasonably even source of light, and avoid mixing a window, room lamps, and flash in the same shot.
Soft daylight near a broad window is a practical starting point. For example, stand where the roots and ends are evenly lit without a bright stripe of direct sun. If the window is behind you, turn toward it or move so your hair is not silhouetted. Open shade outdoors can work too if you can repeat the conditions. There is no single window direction or Kelvin setting that works for every device. Once you have a usable photo, the what hair color suits me guide can help you narrow the directions you want to compare.
Keep framing and exposure consistent
Set the phone at roughly eye level and include the whole hair outline, roots, midlengths, and ends. A plain background helps the edge of your hair stay visible; avoid a wall or shirt that casts a strong color onto the scene. Wear your hair dry and close to the way you normally wear it. If a style hides the roots or lengths, move a section aside for a second reference frame. A steady phone support or another person taking the photo can help keep the framing repeatable.
Take a front view and, if placement matters, a side or back view in the same light. You might also make one closer roots-and-lengths frame to show the color transition. Keep your distance, camera, and exposure as similar as you can between versions. Check that bright areas still show detail and darker lengths have not become a solid block. You do not need to set a universal exposure or white-balance number. A small set of clear references is easier to discuss than many photos taken in unrelated light; use the hair color salon brief to organize them for a consultation.
If you are taking photos on different days, record where you stood and whether a lamp was on. Repeat the setup before judging a small change in shade. If the conditions cannot be matched, keep the photos as separate references and tell your colorist which one is closer to what you see in person. This matters especially when a warm highlight or dark root is the detail you want to discuss: a change in lighting can make that detail seem stronger or weaker.
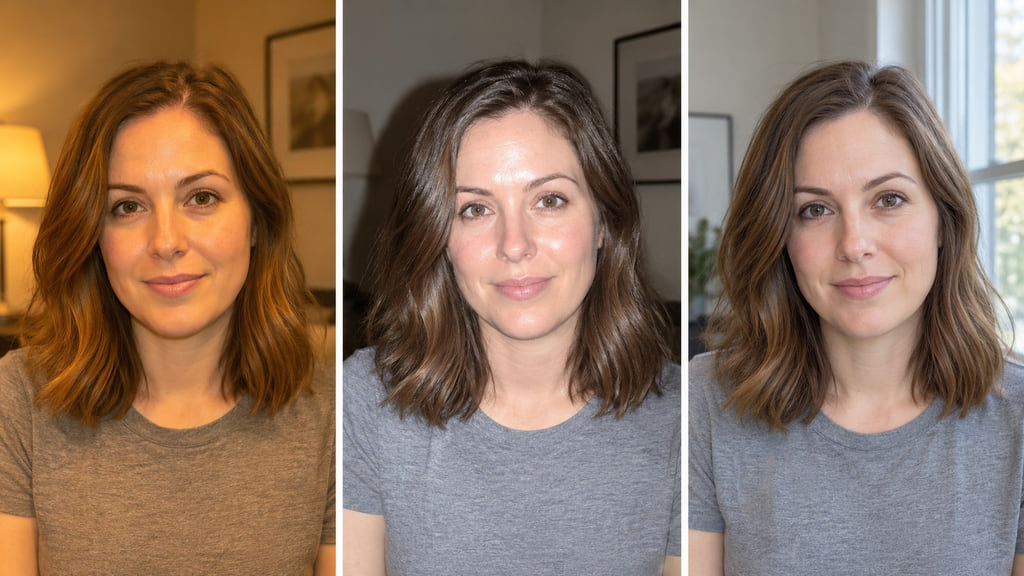
The left panel shows a warm-looking room light, the middle panel shows strong frontal light, and the right panel shows softer window light. Use the panels to spot casts and glare in your own photos. They are illustrative scenes, not a controlled experiment or a calibrated shade chart.
| Check | Look for | If it is missing |
|---|---|---|
| Light | Similar light across the roots and lengths | Move away from mixed lamps or direct sun. |
| Framing | Visible hairline, outline, and ends | Step back or take an additional view. |
| Exposure | Detail in both bright and dark areas | Adjust your position and retake the photo. |
| Background | Hair separates from its surroundings | Choose a simpler, less colorful backdrop. |
Check filters and camera processing
Check before comparing: turn off beauty filters, skin smoothing, or a color filter that visibly changes the image. Portrait blur can also cut into loose strands or the hairline. Review a test photo at normal size rather than assuming its preview matches the saved image. If one photo looks much warmer, cooler, brighter, or more saturated than the scene you saw, try a different position or setting and take it again.
Automatic white balance, HDR, and other processing differ by camera and situation. There is no useful rule to disable every automatic setting on every phone. Compare the actual saved frames and keep the same settings for the set you plan to use. Also check the display you use to view them: a warm night mode or vivid display mode can change the color you see on screen without changing the original scene. A photo is most useful when you can explain the conditions in which it was taken.
Know what the photo cannot establish
A photo can show how a color direction reads in that image. It cannot reliably identify your undertone, natural base, porosity, prior color history, or the lift a salon can achieve. Even the terms used for depth and tone belong to a specific color system: Wella's technical guide uses its own shade and tone codes. A brown-looking reference photo is not enough to select a formula or predict how previously colored hair will respond.
Use your best photo to compare a small number of lighter, darker, warmer, or cooler directions, then keep two references that show what you mean. For example, if both a neutral brown and a warmer brown appeal to you, view them under comparable light, note which direction you prefer, and bring both to a colorist. Share what you know about previous dye and ask what is feasible for your hair. A virtual try-on may help compare directions, but neither it nor a photo replaces a strand test or a professional consultation.
Frequently Asked Questions
Should I disable every automatic phone setting?
No. Automatic white balance and HDR can help in some scenes and change the image in others. Check the result on your own device, avoid obvious filters, and keep the same setup for the photos you compare.
Can a photo reveal my color history or porosity?
No. A reference photo cannot establish previous dye, porosity, or how your hair will respond to a color service. Tell your colorist what you know about earlier treatments, including anything you are unsure of.